How to Finish and Care for Punch Needle Projects
Wall art, cushions and accessories are not finished the same way. How you cover the back, whether to secure it and how to clean the piece depend on how it will be used.
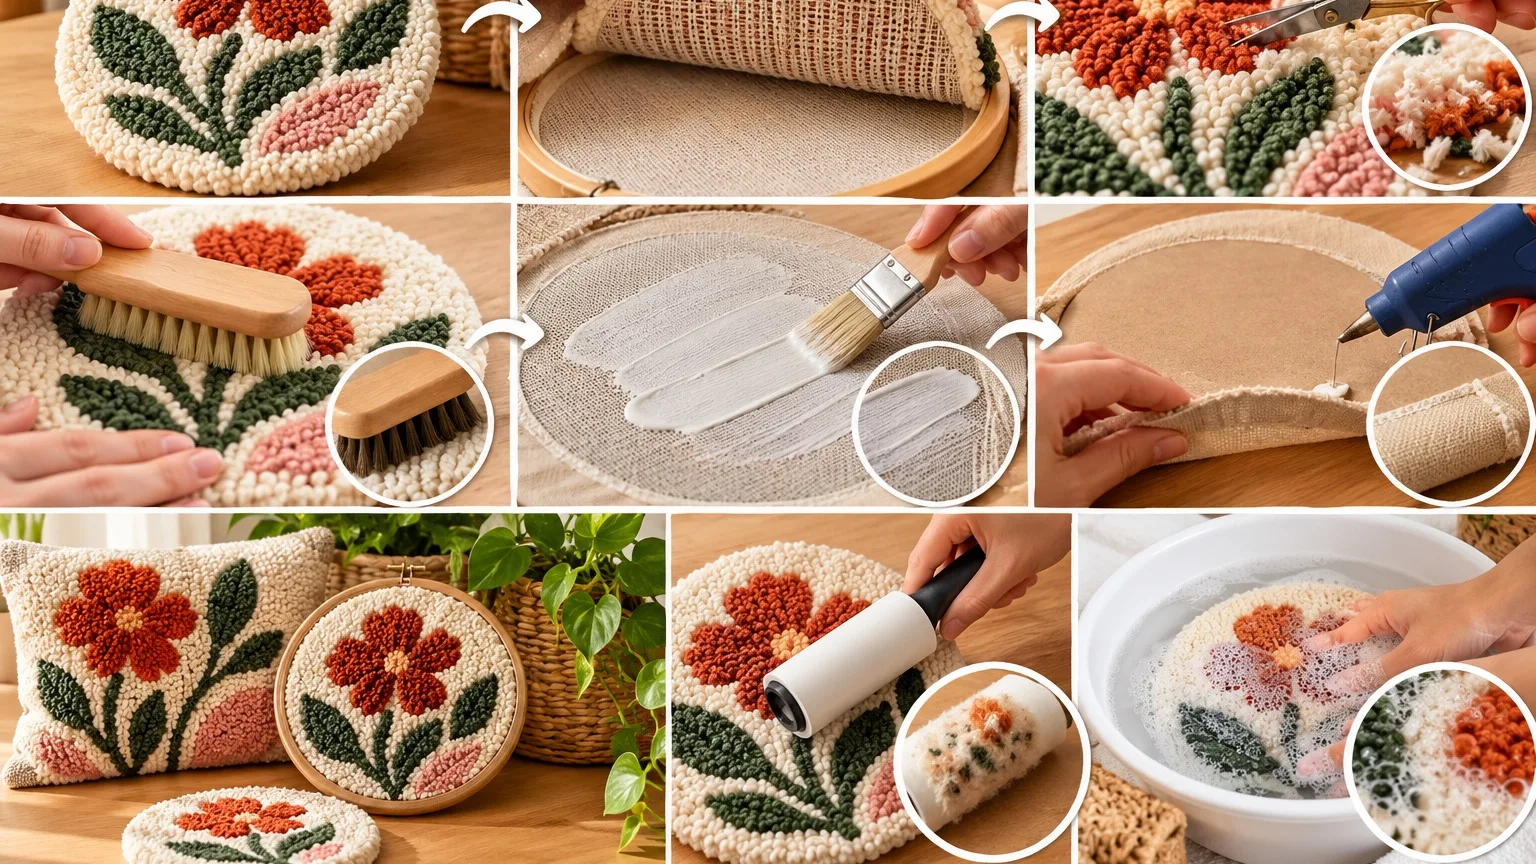
A punch needle piece is not quite done when the last loop goes in. How to cover the back, whether to secure the loops further and how to clean the finished piece differ between wall art and a cushion or keyring that is handled every day. The yarn and fabric you used shape these decisions too.
Tidy the surface first
Turn the work over and check the looped side. Sarah Maker suggests trimming leftover yarn tails to the height of the loops and nudging loops that stray past the design line back into place with a blunt tool.
Steaming is optional and only suitable if your yarn and fabric can take heat. The same source notes that 100% wool can be steamed, while acrylic yarn needs more care because it can melt. If you are unsure, test on a sample first.
Do you need to secure the back?
There is no single right answer. Sarah Maker explains that in a closely punched wool cushion, packed loops hold each other in place, so glue is not needed. Clover's fine-thread punch needle tutorial, on the other hand, notes that stitches on the back of a finished piece can be sealed with glue.
Consider this when deciding: glue stiffens the back, makes later repairs harder and does not behave the same with every fabric and yarn. If you use it, choose a textile-suitable product and try it on a sample first.
Wall art displayed in a hoop
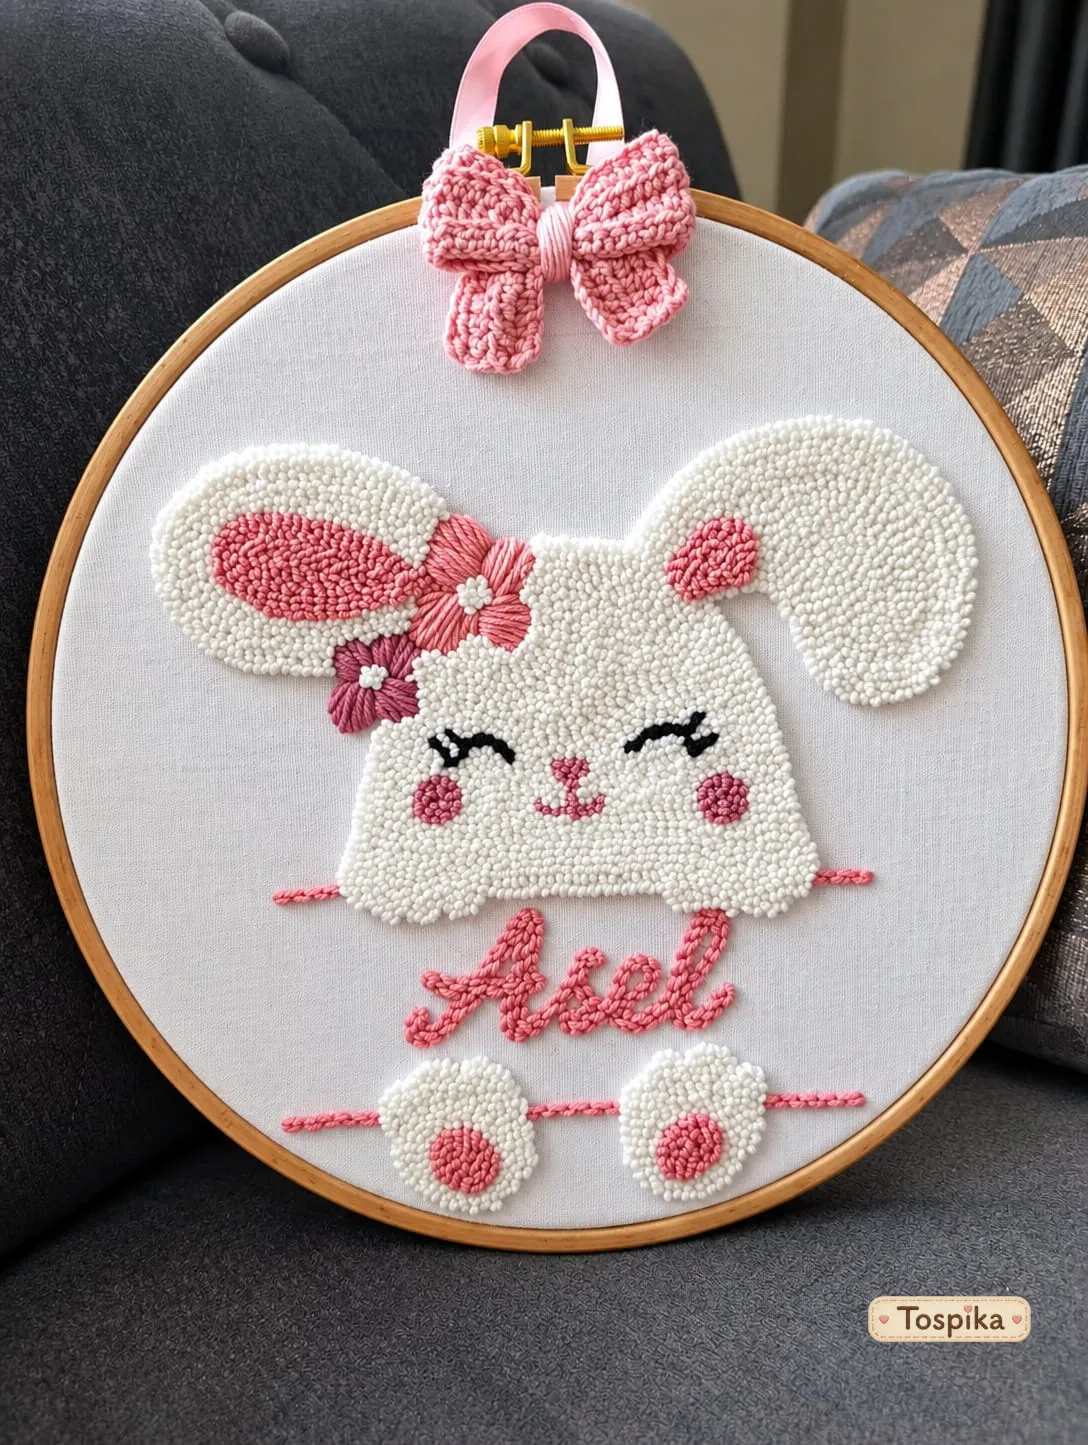
In Marching North's method, the piece stays in the hoop. Excess fabric is trimmed, leaving a few centimetres around the hoop, folded to the back and gathered with a running stitch. A piece of felt cut slightly smaller than the hoop is then hand-stitched around the edge to cover the back, hiding the reverse of the loops and the raw fabric.
Pieces mounted on a frame
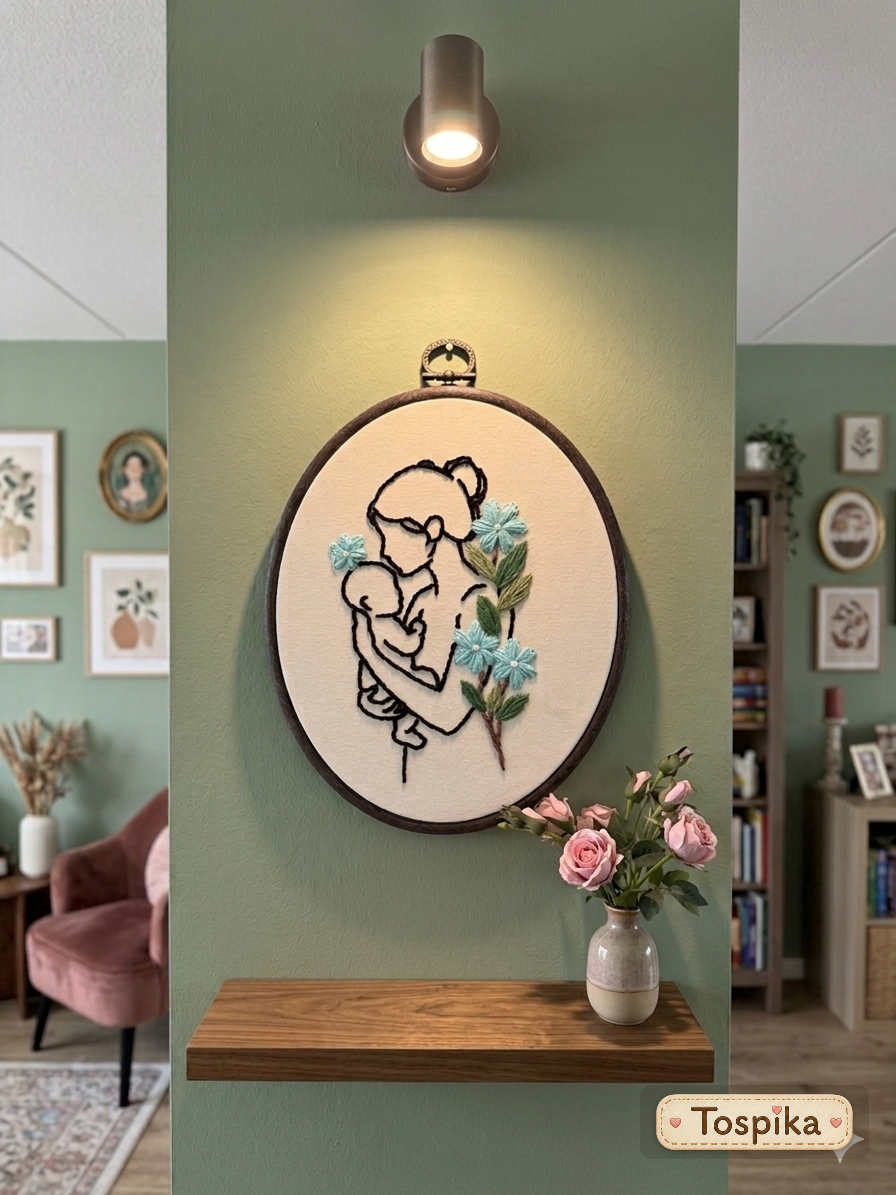
Larger pieces can be stretched over a wooden frame. According to the same source, you centre the work with one staple on each opposite side, staple along the edges and fold the corners neatly. After trimming the excess fabric, felt can be glued over the back to protect both the wall and the work.
Cushions
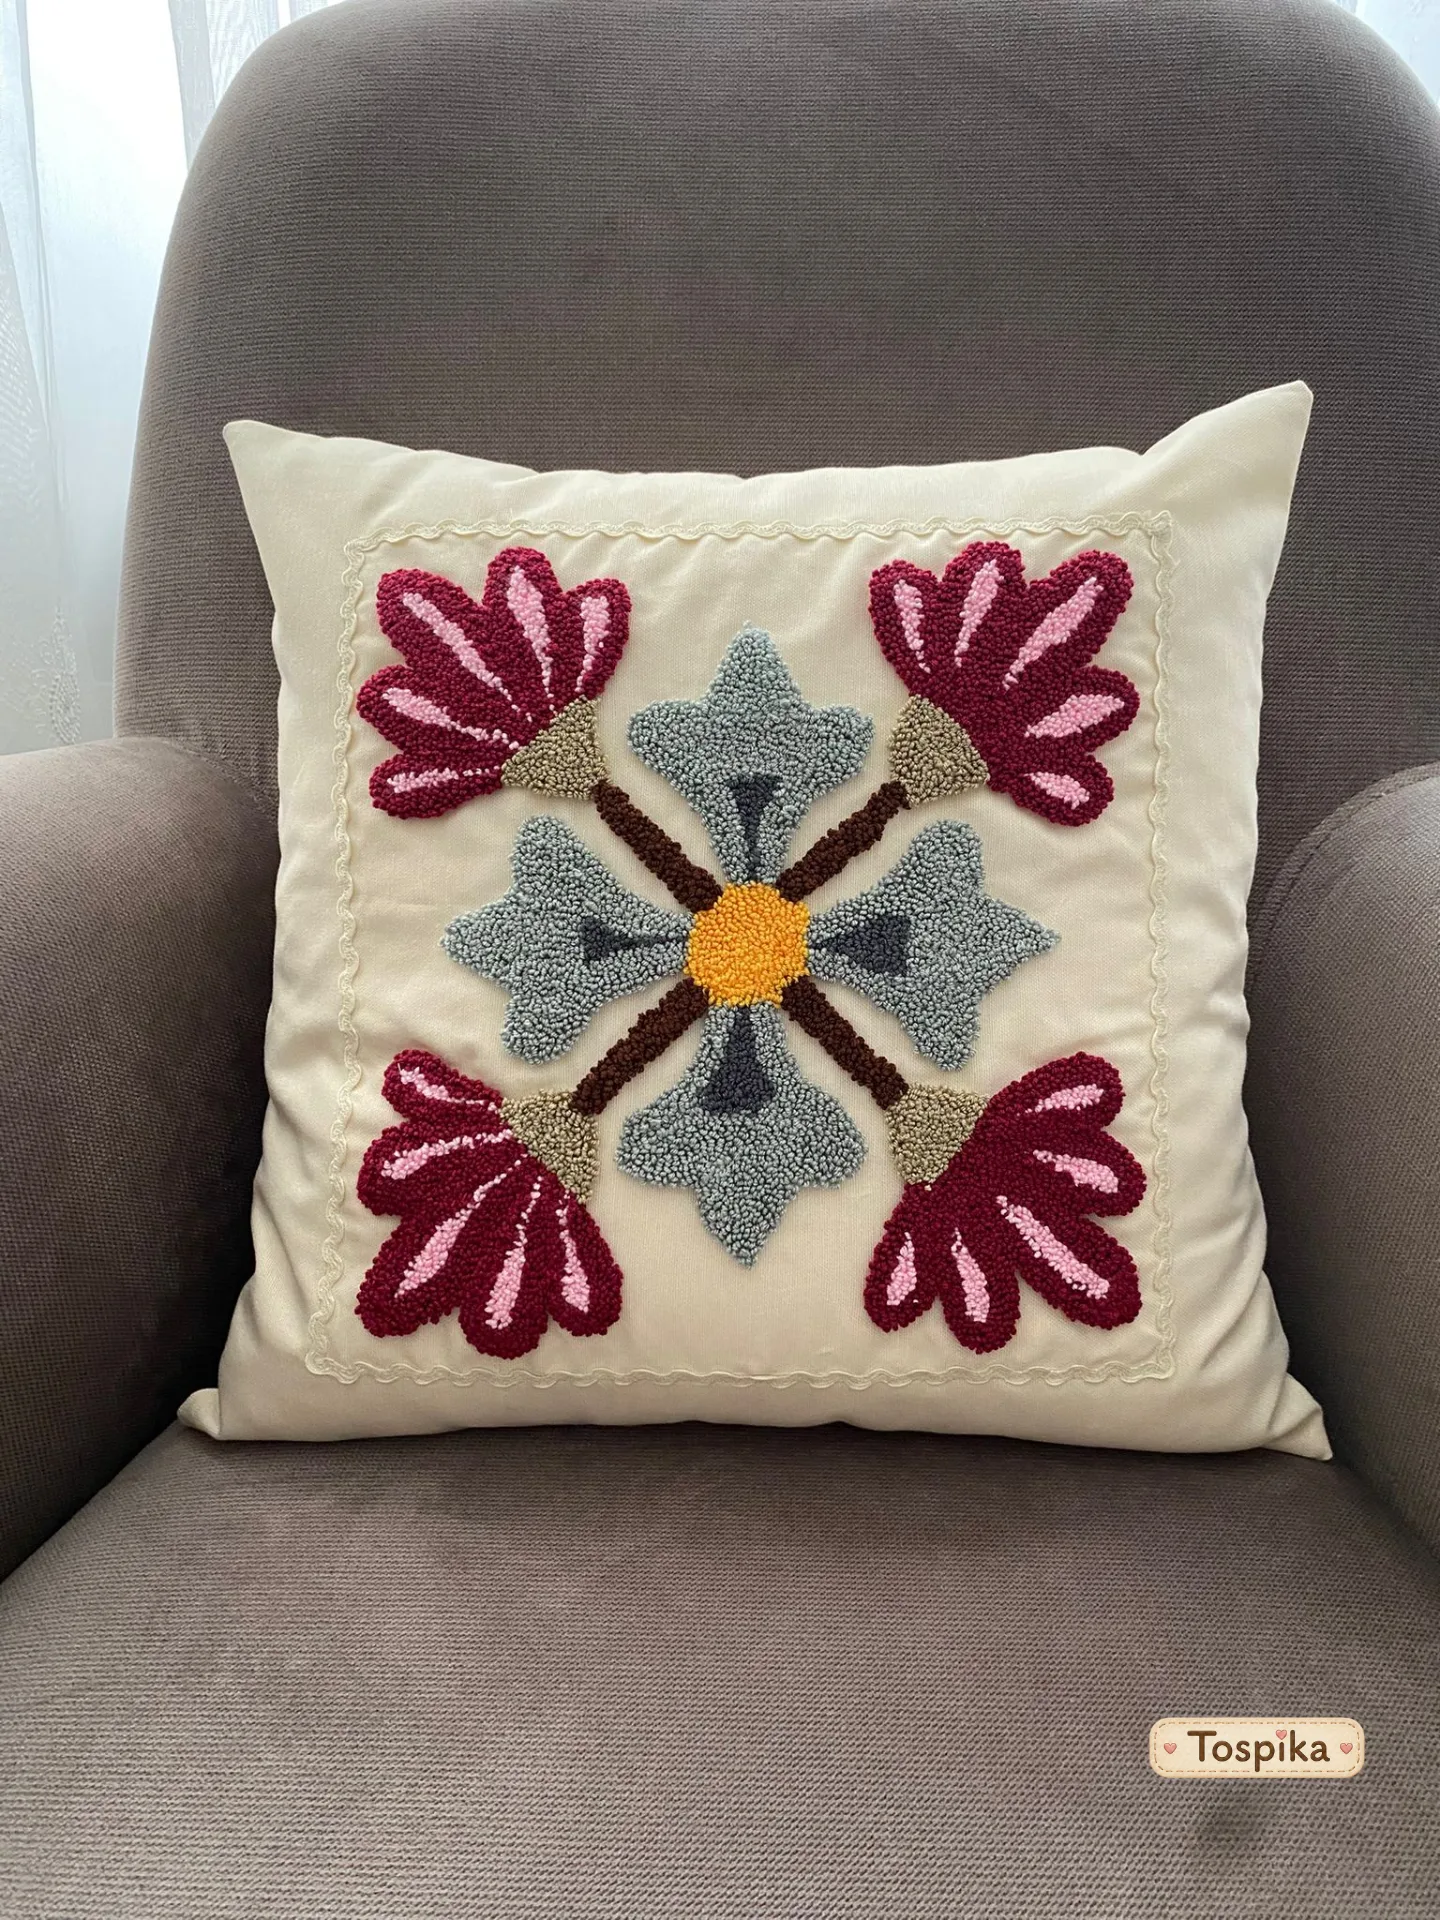
For a cushion, leave enough fabric around the design for seam allowances. Sarah Maker points out that monk's cloth frays easily and recommends reinforcing the edges with a zigzag stitch or serger. An envelope-style back makes the cover removable for cleaning or repair, and a yarn whip stitch along the edge gives a neat finish while hiding the strip of foundation fabric.
Bags, keyrings and coasters
For pieces that are handled often, rubbed or likely to get damp, it is usually better not to leave the back of the loops exposed. Covering the back with fabric or felt, and lining bags, reduces the chance of loops catching and pulling. The right method depends on the materials, so follow the maker's advice for any piece you buy.
Cleaning and storage
Sarah Maker recommends spot cleaning punch needle cushions by hand with cold water and gentle soap, and advises against machine washing. Blotting rather than rubbing a stain helps keep the loops in place.
Do not stack heavy items on punch work, as the loops can be crushed. Long exposure to direct sunlight may fade colours. Rather than relying on a fixed rule for cleaning and drying, always check the yarn and fabric used in the piece.
Ask the maker for care details
The maker knows best which yarn and fabric were used and how the back was finished. Explore punch needle wall art, cushions and wall decor by women makers on Tospika and send your care questions directly to the maker. Tospika is not involved in sales or payments and takes no commission.
Frequently asked questions
- Can punch needle work be machine washed?
- It is generally not recommended. Sources suggest spot cleaning by hand with cold water and gentle soap. Always follow the maker's care information.
- Do I need to glue the back?
- Not necessarily. In closely punched wool work, loops hold each other in place. Securing the back may suit fine-thread work or heavily used items; test on a sample first.
- Can I iron punch needle work?
- Only if the yarn and fabric tolerate heat. Steam briefly through a damp cloth without pressing directly on the loops, and take care with acrylic yarn, which can melt.
- How do I cover the back of a hoop piece?
- Fold the excess fabric to the back and gather it with a running stitch, then hand-stitch a piece of felt slightly smaller than the hoop around the edge.
- How do I care for a punch needle piece I bought?
- The maker knows best. On Tospika you can contact each maker directly to ask about the yarn, fabric and recommended care.
Sources
- How to Make A Punch Needle Pillow — Sarah Maker (2020-12-05) sarahmaker.com · Accessed: 2026-10-19
- 3 Ideas for Finishing Punch Needle Projects — Marching North (2020-05-29) marchingnorth.com · Accessed: 2026-10-19
- Quick ‘n Easy Embroidery with Stitching Tool — Clover (2018-03-23) blog.clover-usa.com · Accessed: 2026-10-19
Related content
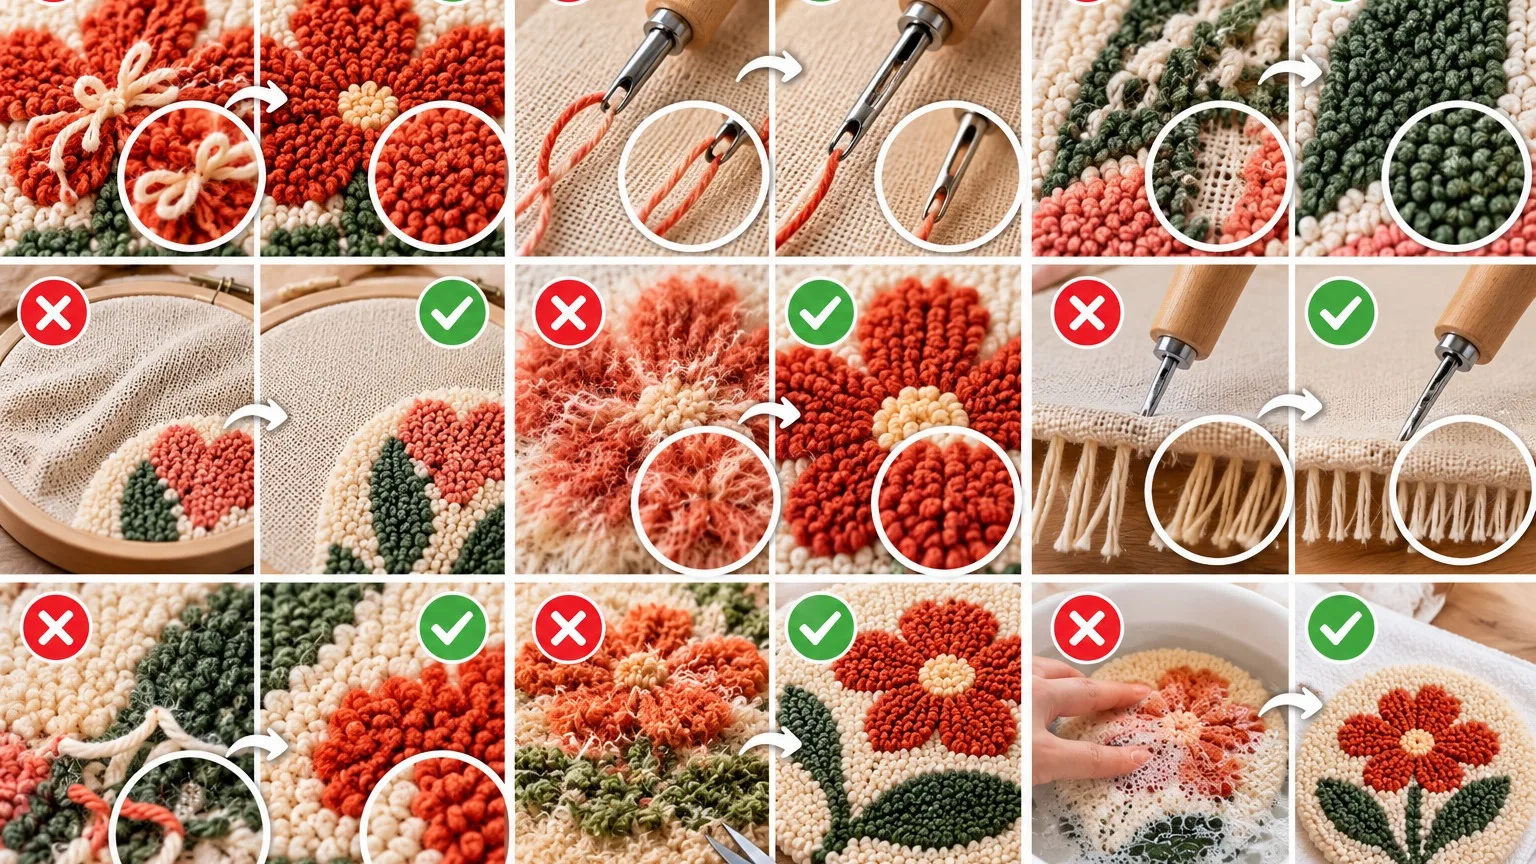
Why Do Punch Needle Loops Pull Out? 9 Mistakes and Fixes
Punch needle loops are held by friction, not knots. When loops pull out, the cause is usually fabric tension, needle movement or a material mismatch.
Read more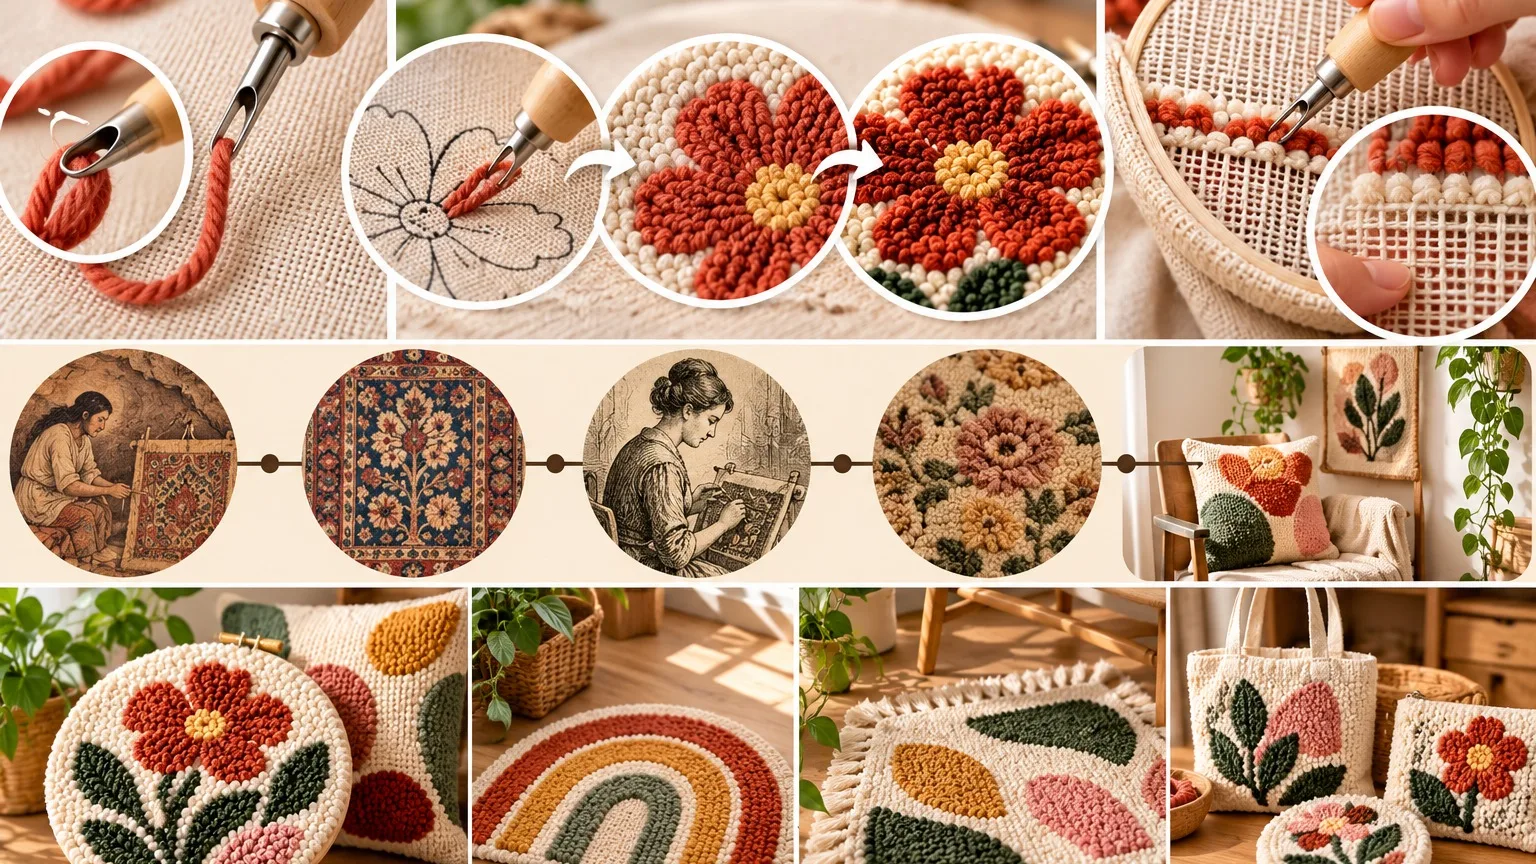
What Is Punch Needle? How It Works and a Short History
Punch needle pushes yarn or thread through fabric with a hollow needle and leaves a loop on the other side. There are no knots: taut fabric and closely packed loops hold the work in place.
Read more