How to Make a Beaded Bracelet: A Step-by-Step Guide
A beaded bracelet is an easy and enjoyable introduction to jewelry design. Follow each step, from measuring your wrist to tying a secure knot.
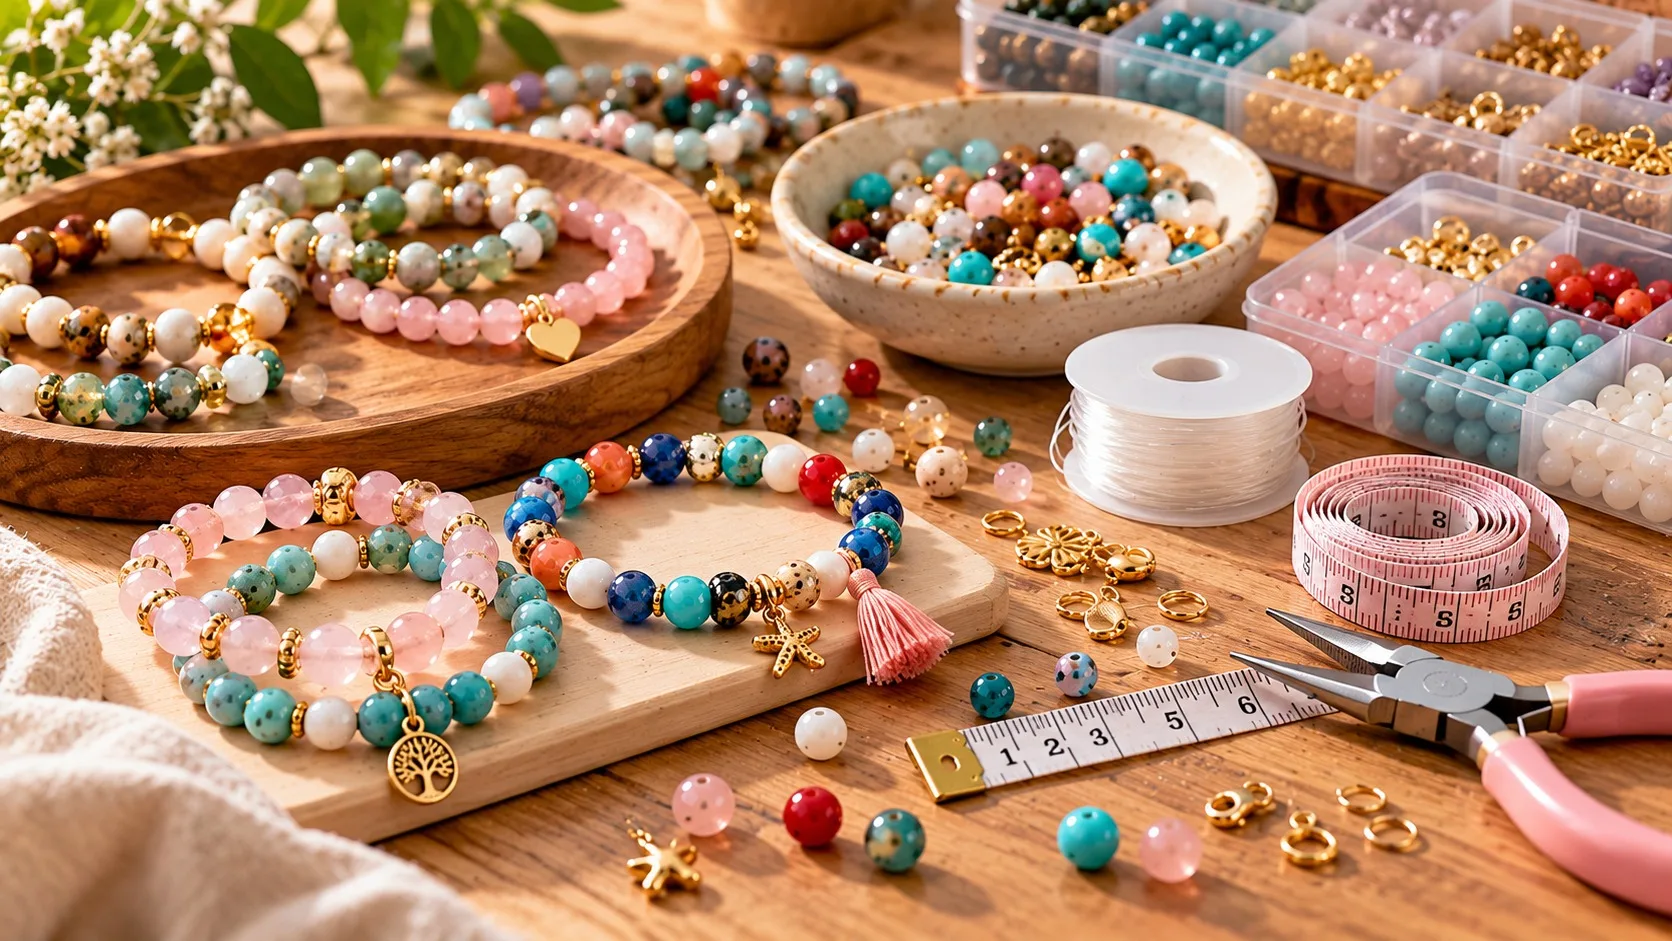
Making a beaded bracelet is one of the easiest and most enjoyable ways to begin designing jewelry. By combining different colors, you can create simple, vibrant, or personal designs that reflect your style. Start at home with just a few basic materials.
Materials you will need
- Elastic jewelry cord suitable for bracelets
- Beads suited to the cord thickness
- Scissors and a ruler or measuring tape
- Optional beading needle
When choosing your materials, you can refer to our guide to jewelry-making supplies.
1. Measure your wrist
Wrap the measuring tape around your wrist without pulling it too tightly. Consider how loose you would like the bracelet to be and make sure it can be put on and taken off comfortably.
2. Plan the pattern
Before threading the beads onto the cord, arrange them on a table in your preferred order. You can try a single color, a repeating two-color pattern, or beads in different sizes. Planning ahead helps you visualize the finished design.
3. Prepare the cord
Cut the elastic cord to a suitable length, leaving extra for the knot. Before adding the beads, gently stretch the cord between both hands. Pre-stretching may help reduce loosening during wear. Test it with a few beads to ensure the cord passes easily through the holes. Interweave notes that using a double strand can help the knot hold more securely.
4. Thread the beads
Thread the beads onto the cord in your chosen order. After adding the final bead, bring the two ends together and check the fit. The bracelet should not be too tight, but it should not be so loose that it slips off easily.
5. Tie a secure knot
Join the two ends with a suitable knot and pull gently to check that it is secure. A surgeon's knot is often recommended for elastic cord; Interweave suggests tying several knots and, optionally, applying a drop of jewelry glue to the knot. Knotting techniques may vary depending on the type of cord, so follow the manufacturer's recommendations. If suitable, you can hide the knot inside a bead with a large hole.
6. Make a final check
Check the arrangement, knot, and cord tension. Test the join by stretching it gently; excessive pulling may shorten the life of the elastic cord.
Design ideas
- Minimal: Beads in one color and similar sizes.
- Colorful: Three or four complementary colors.
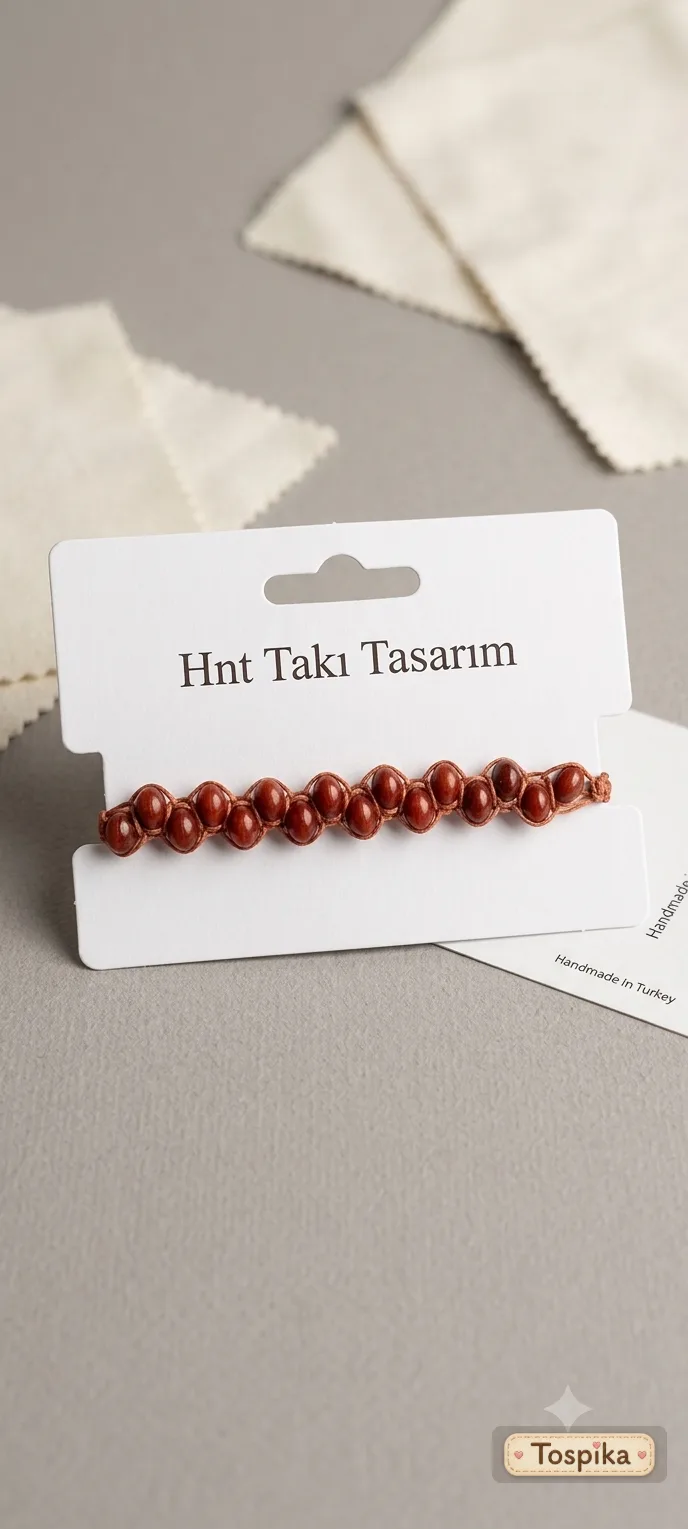
- Natural: Wooden, ceramic, or natural stone beads.
- Personalized: A name or meaningful word made with letter beads.
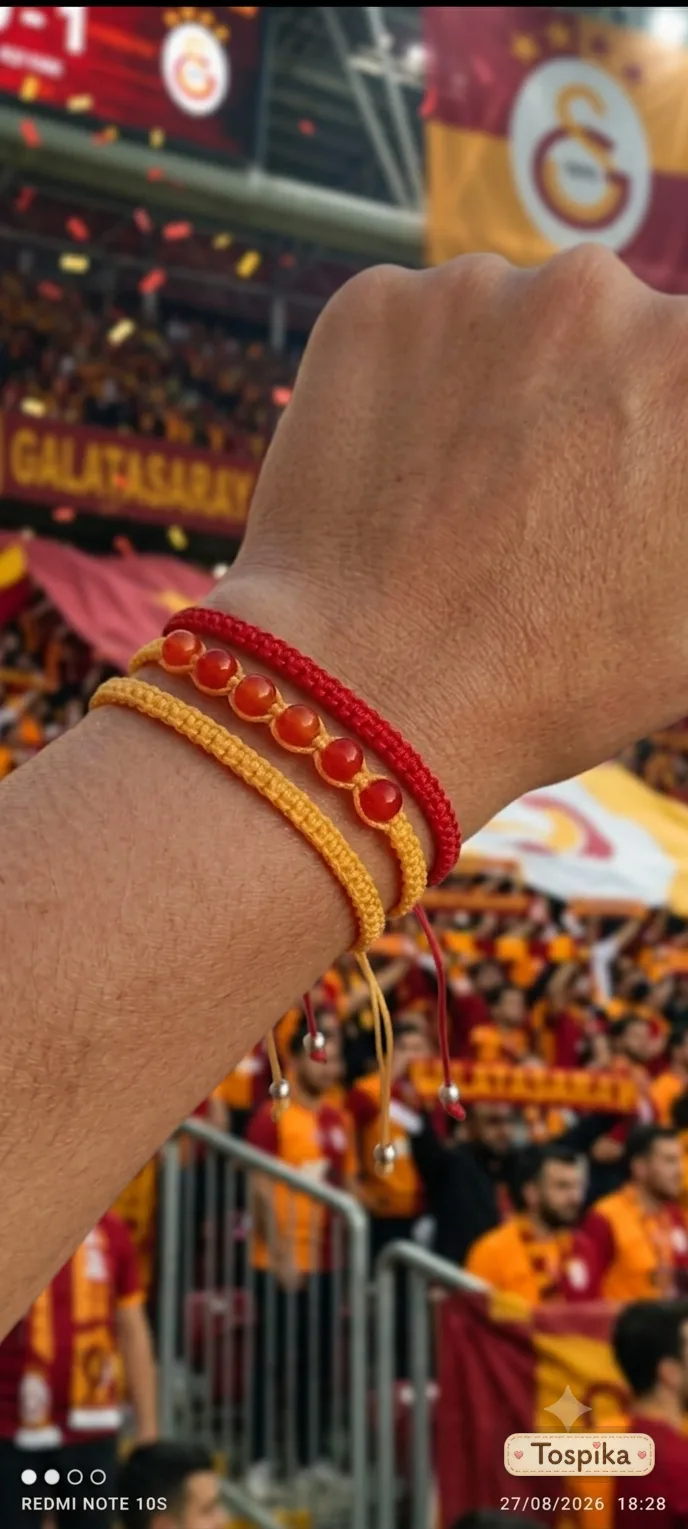
- Layered: Several slim bracelets in different colors.
When choosing colors, take a look at our guide to color harmony in jewelry design.
Durability and safety
Check the bead holes for sharp edges that could wear down the cord. Do not force the cord through. Interweave advises against using crimp beads for this type of bracelet, as they can cut through elastic cord. Keep small beads out of children's reach and supervise craft activities involving children.
Conclusion
A beaded bracelet is a wonderful first project for creating your own design through color and form. Your first attempt does not need to be perfect. Every piece helps you develop your skills and understanding of materials. For more inspiration, explore the beaded bracelets made by women artisans on Tospika. Tospika is not involved in sales or payments and does not charge commission.
Frequently asked questions
- What cord should I use?
- Stretch jewelry cord is suitable for elastic designs. Choose a thickness that fits the bead holes and supports the beads' weight.
- How do I hide the knot?
- Carefully tuck a secure knot into a bead with a hole large enough to accommodate it.
- How long will the bracelet last?
- It depends on cord quality, bead edges, knot security, and how the bracelet is worn.
- Which knot works for stretch cord?
- A surgeon's knot is most often recommended. Tie a couple of knots and, if you like, secure them with a drop of jewelry glue.
- Should I pre-stretch the cord?
- It is not required, but gently stretching the cord before stringing can help keep the bracelet from loosening over time.
Sources
- Tips for Bead Stringing With Stretchy Cord — Interweave interweave.com · Accessed: 2026-10-19
- How To Tie A Surgeon's Knot On A Stretch Bracelet — Cut Out + Keep cutoutandkeep.net · Accessed: 2026-10-19
- What equipment do you need to start creating jewelry? — Perles & Co (2023-10-10) perlesandco.co.uk · Accessed: 2026-10-19
Related content
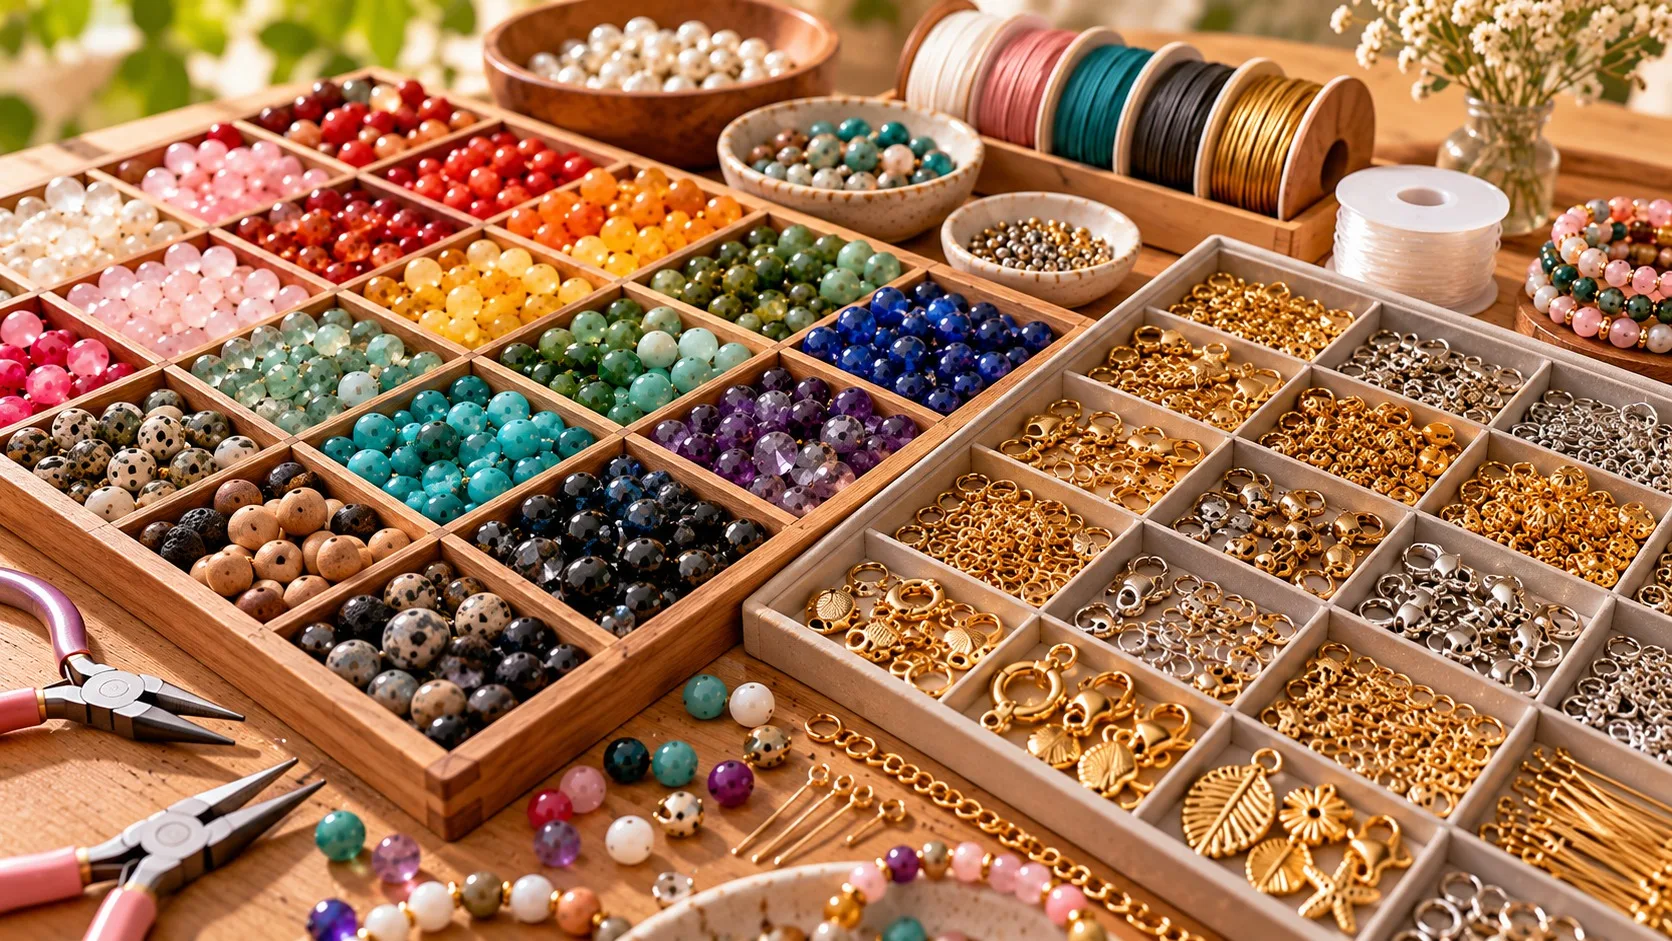
Color Harmony in Handmade Jewelry Design
The same beads can look completely different in new combinations. Design more balanced jewelry with color families, complementary and neutral colors, metal tones, and texture.
Read more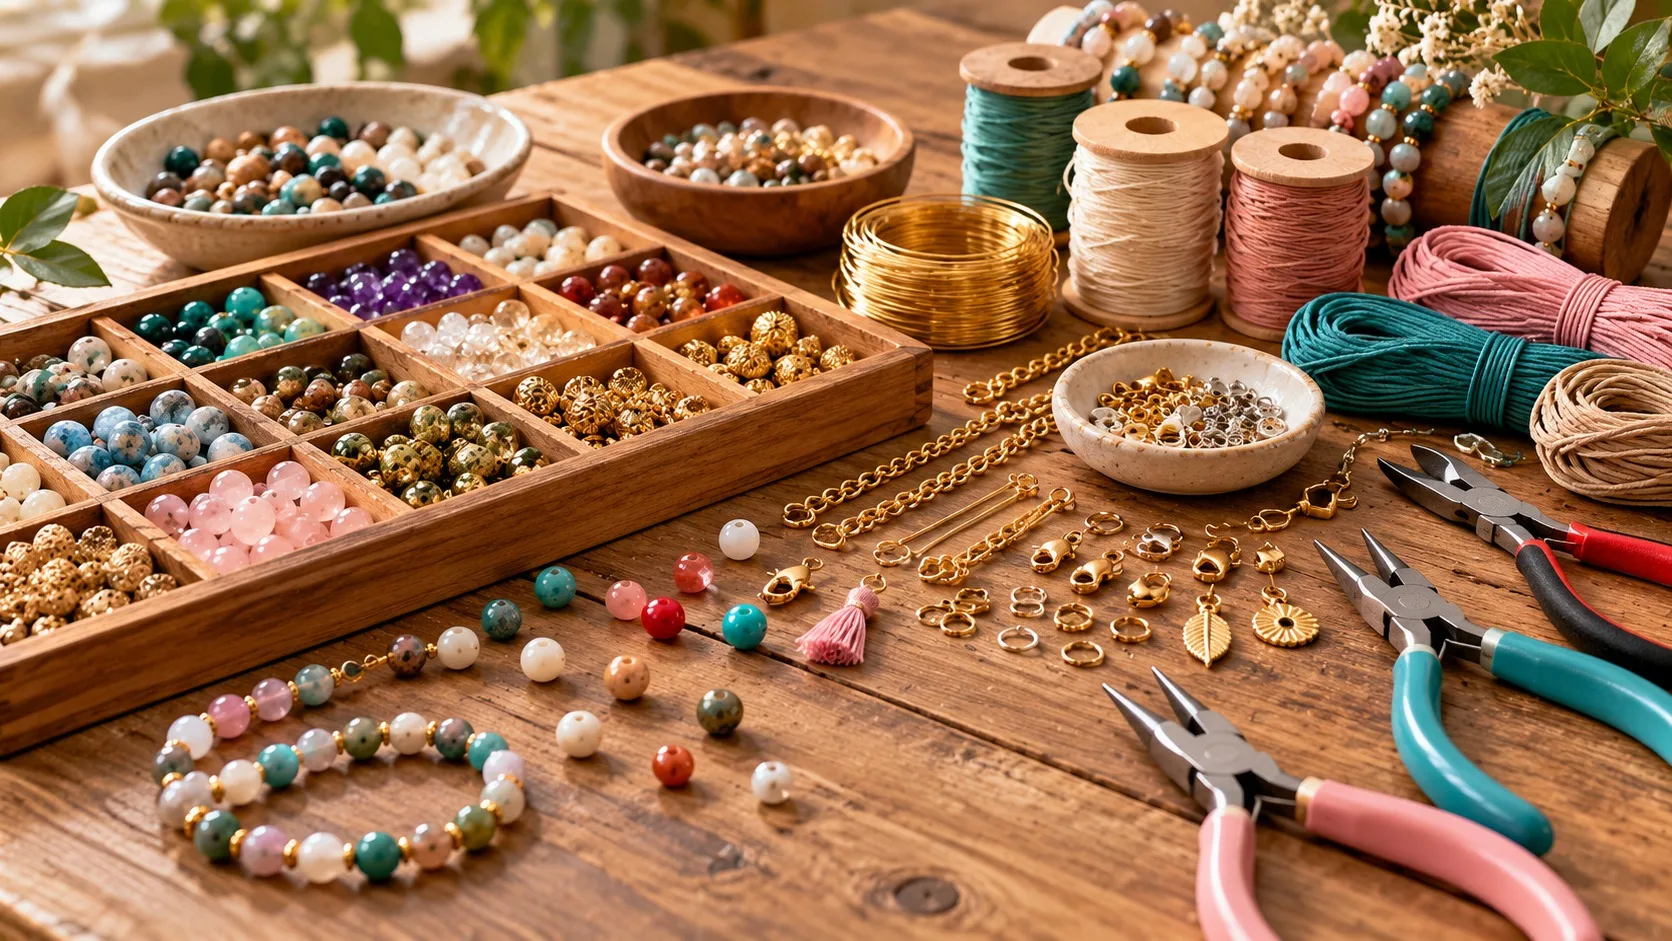
Essential Jewelry-Making Supplies for Beginners
You do not need a professional workshop to begin making jewelry. Learn about beads, cords, findings, and essential tools, then create your first piece with a small starter kit.
Read more